Design
 Residential
 Commercial
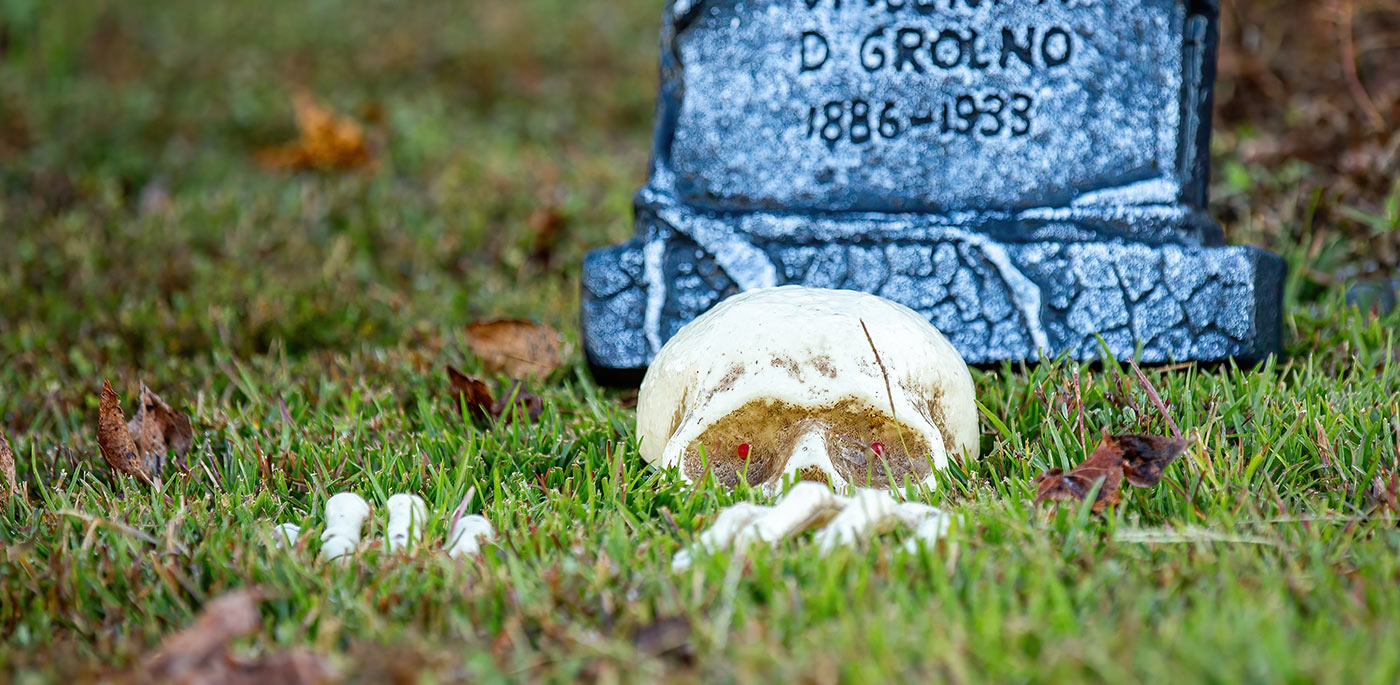


Every lawn has a story to tell in the fall. Most stories are fairly pleasant tales: cooler temperatures, deeper green hues and softer light. Then you come across a horror story: Spooky Spots.
What's so spooky about Spooky Spots?
Bare areas are less about your lawn being "bad" and more about your yard having a memory. Patches usually tell a story about what happened to lead to their existence.
Spooky Spots are those bare circles beneath the swing set, thin strips along the sidewalk, or patches by the downspout that look more like dirt than grass. Suddenly, you're spooked! You see them everywhere!
The good news is that you still have time before winter to deal with many of these patches. The better news is that you do not have to fix every square inch to make a real difference for next spring.
Why bare patches show up in the first place
Bare areas are less about your lawn being "bad" and more about your yard having a memory. Patches usually tell a story about what happened to lead to their existence.
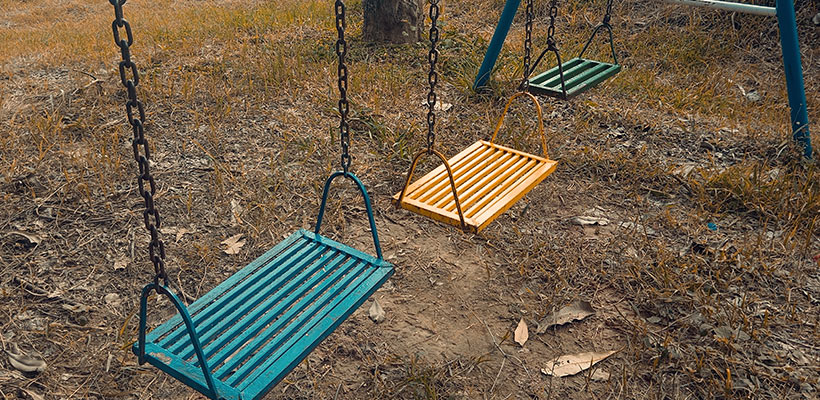
Common culprits:
- Heavy foot traffic from kids, pets, or paths to the grill
- Dog spots from repeated bathroom breaks in one area
- Shade that increased when trees grew their leaves
- Poor drainage around downspouts or low spots
- Summer disease or insect damage that never fully recovered
- Construction traffic from a project or delivery
Before you jump into patching, take a minute to ask yourself what the area went through in the past year. That will give you an idea of what you need to do for the coming season.
Which Spooky Spots to fix now and which to leave Spooky for the time being
By fall, the clock is ticking. In northern Illinois, you generally have until mid to late fall for meaningful seeding. After that, the soil gets too cold for new grass to establish itself.
Good candidates for fall patching:
- Small to medium bare spots where soil is visible
- High-visibility areas like near the front walk or patio
- Paths or play zones that you want to improve before next spring
Spots to note and plan for later:
- Thick shaded areas where grass has failed to grow for years
- Places with standing water that really need grading or drainage work
- Large sections killed by disease or insects that may need a bigger renovation
You can still clean and stabilize those tough spots now, but undergoing a major redesign or heavy seeding is best left for the following year.
LawnCare by Walter can help you decide which patches to fix now, which to attend to later, and which need further examination. Keeping you from being haunted by the same Spooky Spots is our goal!
Step 1: Clean up the Spooky Spot
Good repairs start with a clean surface. If you just sprinkle seed on top of packed soil and thatch, you will likely be looking at the same bare spot next year.
For each patch:
- Remove debris
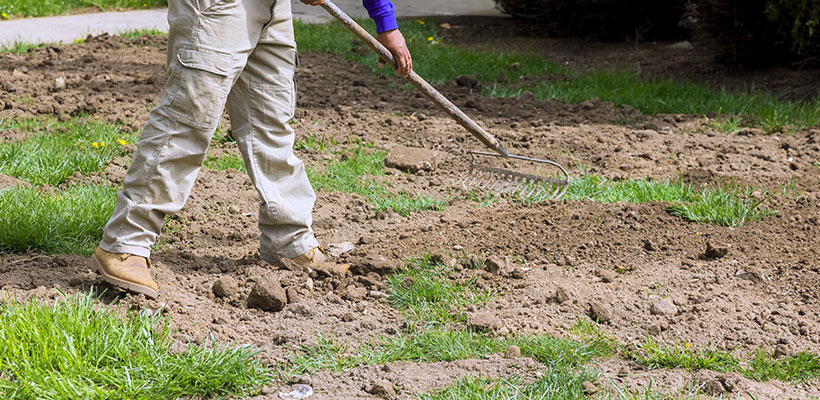
- Rake out dead grass, leaves, and loose thatch
- Pull obvious weeds by the roots so they don't proliferate
- Loosen the soil
- Use a hand rake, cultivator, or shovel to break up the top inch or two
- Consider poking holes with a garden fork to improve contact and drainage in hard areas
- Level low spots
- If the patch is sunken, add a bit of quality topsoil or compost and blend it into the existing soil
Step 2: Choose the right seed for your yard
Fall is not the time to gamble on bargain bin seed. In our region, you want a blend that matches your existing lawn and is suited for cool-season turf.
What to look for:
- Mixed quality seed designated for the Midwest
- A mix that includes improved Kentucky bluegrass, perennial ryegrass, or turf-type tall fescue
Avoid mixes that are heavy on annual ryegrass or mixes that contain "unknown" varieties. These may provide a quick color fix, but not a long-lasting beautiful look.
If your bare spots are in full sunlight, you can lean on bluegrass and rye blends. For slightly shadier areas, a fescue component can help with durability.
Step 3: Seed like you mean it
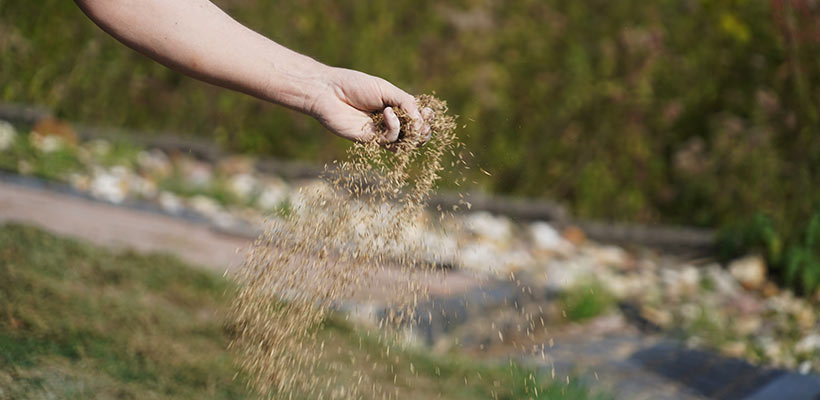
Once the area is prepped and you have the correct seed, make sure you apply it properly.
- Spread the seed
- Sprinkle seed evenly over the patch; aim for a light but visible layer
- Do not dump a thick pile in the middle and hope for the best
- Get seed-to-soil contact
- Gently rake the area so seed nests into the top quarter inch of soil
- Do not simply balance seed on top of debris
- Topdress lightly
- Add a very light dusting of compost or topsoil over the seed
- Aim to protect the birds from the seed without burying it
Step 4: Water like the new grass depends on you
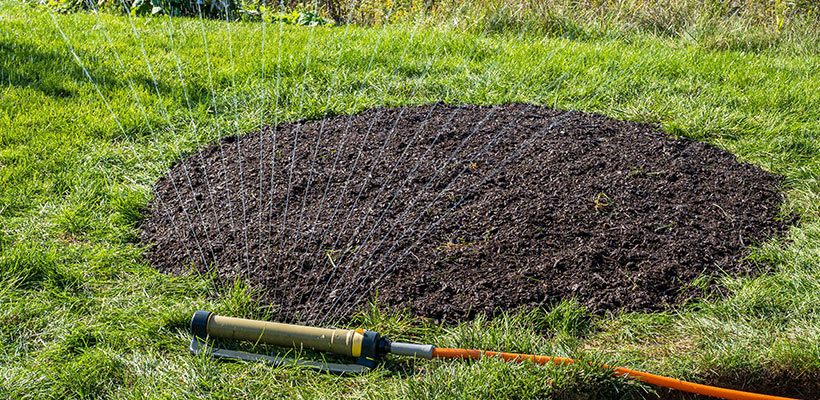
In order for fall patches to succeed, the top layer of soil needs consistent moisture until seedlings are well established. During fall in the Midwest, you often get help from cool air and rain, but you cannot rely on that alone.
Simple watering approach:
- First 2 weeks
- Light, frequent watering to keep the seedbed damp but not soupy
- Think brief watering once or twice a day if rainfall is not doing the job
- Weeks 3 to 4
- Gradually shift to slightly deeper, less frequent watering
- Let gravity take over
- After establishment
- Blend new areas into your regular watering pattern
If a hot, dry stretch appears late in the season, be extra vigilant. A single windy day can dry out shallow seedlings more quickly than you expect.
Step 5: Protect new grass from late season abuse
When new grass is still small, it is fragile. Bare patches are often in high traffic zones, so you may need to get creative for a few weeks.
Helpful tricks:
- Put a small temporary fence or a few garden stakes with string around key patches
- Shift a common path slightly to one side to keep feet off the new growth
- Move play equipment a few feet away so slides and swings are not landing on repairs
You do not need to block the entire yard, but be sure to give young grass enough breathing room to take hold before winter shuts down growth.
Special cases: pet spots and chronic Spooky Spot zones
Some bare patches are not random. They are chronic.
Pet spots
Urine spots from dogs tend to return to the same area. Steps to take:

- Work on training your dog to use a less visible corner
- Use light watering on fresh spots when possible to dilute the effect
- Expect to touch up these areas again next fall if habits do not change
Deep shade or heavy wear
If grass always fails under a large tree or on a narrow path between your house and garage, you may need a different approach.
- Consider groundcovers, mulch, or a tidy shade bed under trees
- Use pavers, stone, or a defined walkway on narrow paths to take the pressure off turf
Sometimes the most successful way to repair a bare patch is to admit that the spot wants a different surface.
What if you miss the seeding window
If cold weather arrives before you repair certain patches, all is not lost. What you can still do:
- Clean up debris and lightly loosen soil so the area is ready for early spring work
- Spread a little compost to improve soil structure
- Note the worst spots so you give them priority in your next season's plan
A clean, prepared patch will respond faster next year than one left crusted, compacted, or ignored.
When to bring in the pros
Most small bare patch repairs are perfect DIY (Do-It-Yourself) jobs. There are times, however, when a professional eye can be of help.
When to reach out for help:
- Bare spots are large or keep returning for unknown reasons
- You suspect underlying issues like grubs, disease, or poor drainage
- You want to combine patch repair with aeration and full overseeding for a broader lawn upgrade
LawnCare by Walter can help you decide which patches to fix now, which to attend to later, and which need further examination. Keeping you from being haunted by the same Spooky Spots is our goal!
 Max 6 min read